Week 1 & Exercise 1
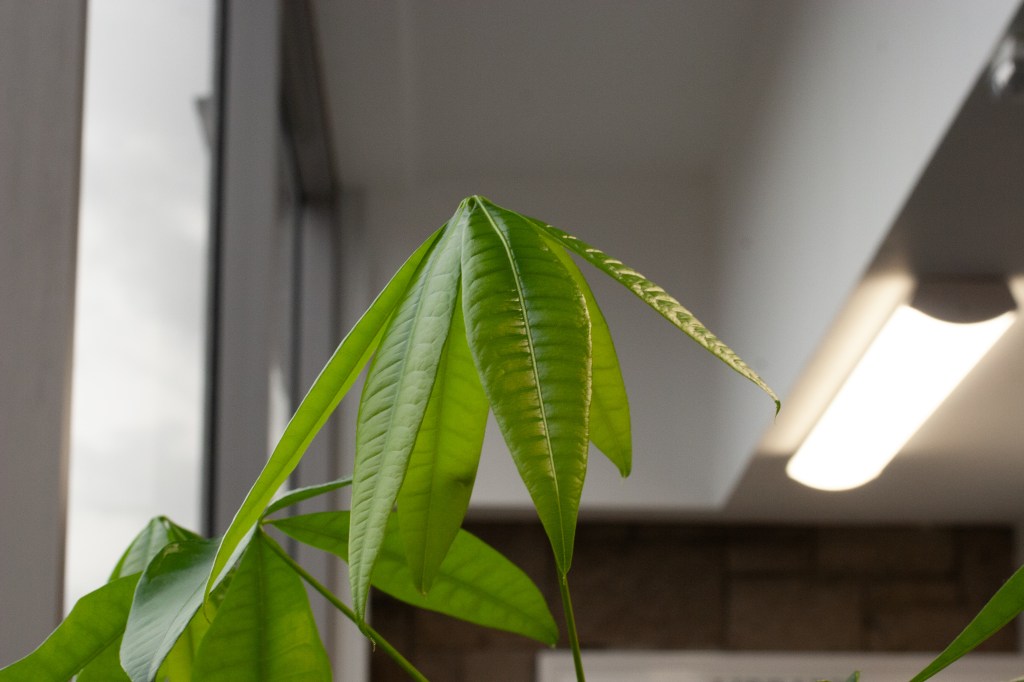
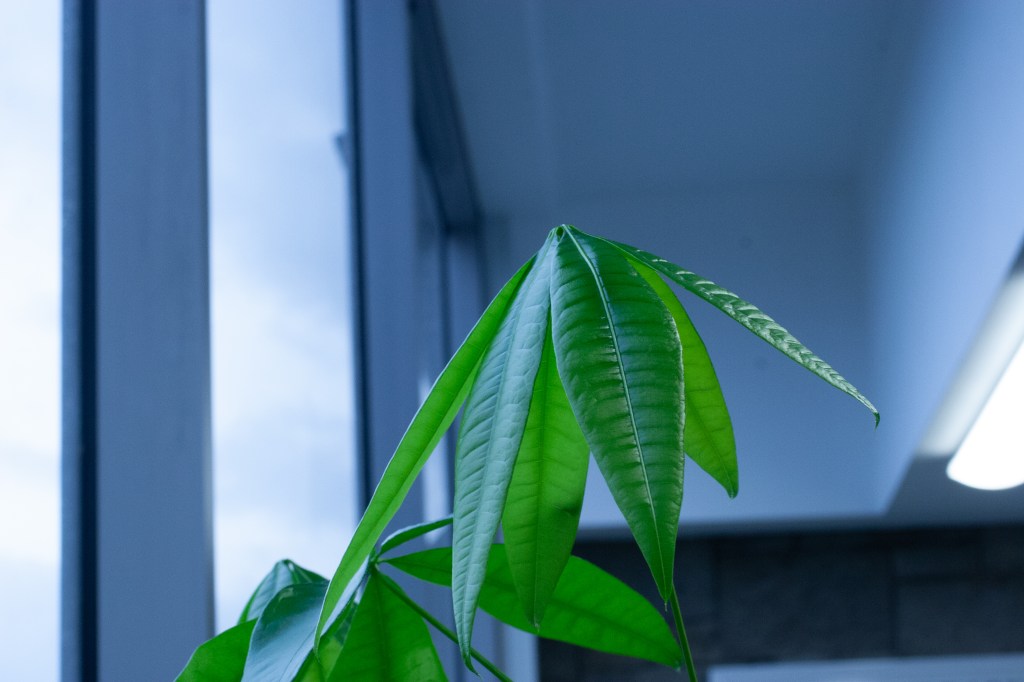
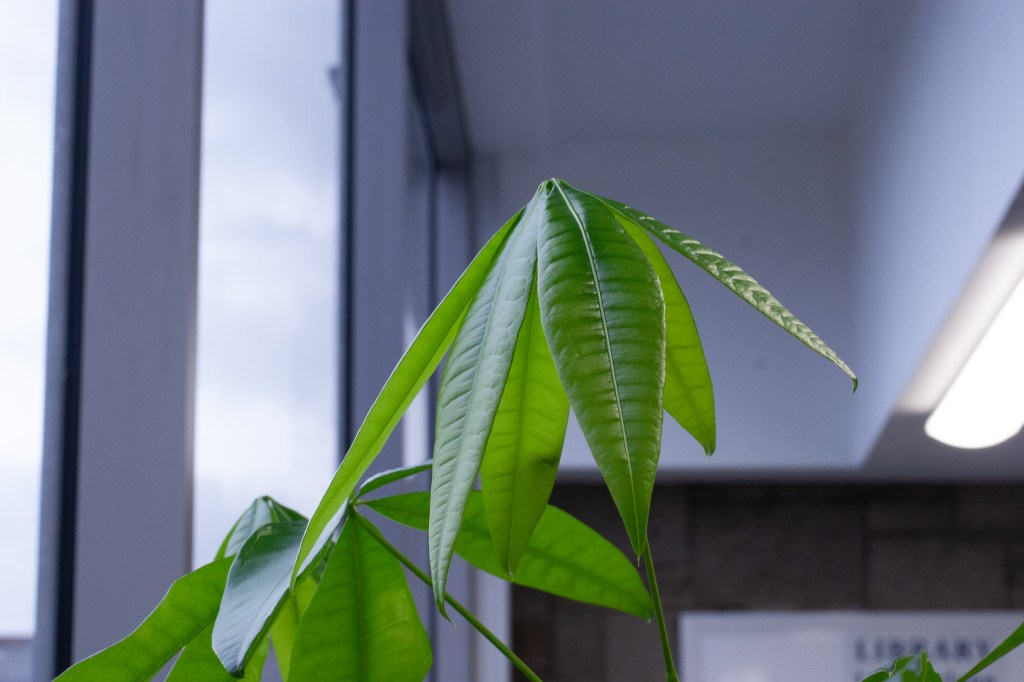
Part A Raw & Baseline Exposure
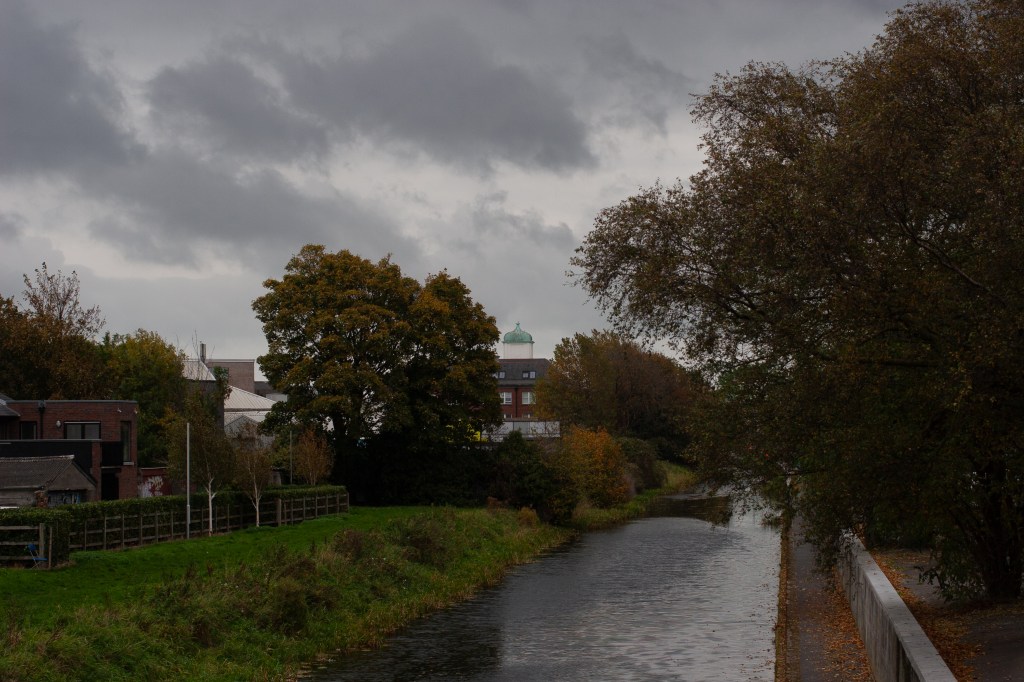
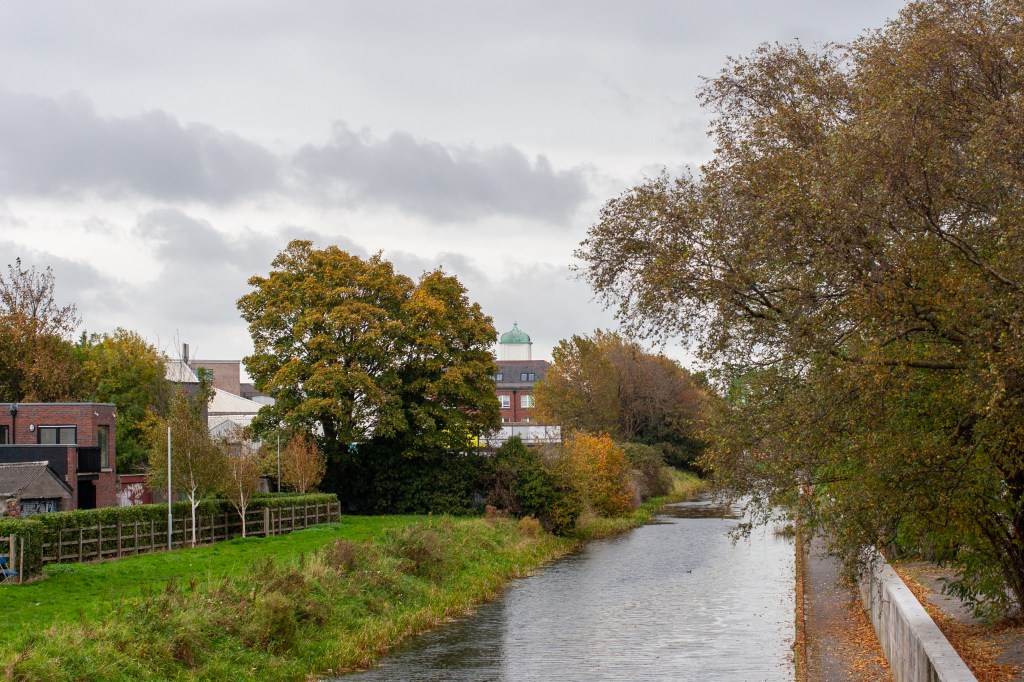
First test shot is a little overexposed. ISO is set at 400, F/ 7.1, 1/200th.
Second shot, ISO 200, F/ 7.1, 1/125, I brought the iso down to darken it.

Final image with more defined shadows setting the baseline. Iso 200, F,4.5, 1/320th. I was tring to get a defined tip on the green spire
Part B: ISO Variations and Compensation
The three Images with no exposure adjustment.
ISO 400, SS 1/250, F/ 4.0
ISO 800
ISO 1600
It is clear to me how much ISO can effect the grain and completly dimantle the detail found in the hilights and shadows in an image.
Compensation
The next three images are from when I re-centred the exposure between each change in ISO.

This Image was taken at ISO 400 initially with my shutter speed at 1/25 and F/ 2.5.

This Image was taken at ISO 800 with a shutter speed of 1/60th and F/2.5
From this looking back I feel that adjustments should have been made to the aperature and not just the shutter speed because, between the first change in ISO my SS by 1,1/3 stops without touching the aperature. Similalry with the next change was increased by 2/3 stop. Allbeit that this was a unique ISO exercise I am learning to not lean on my shutter so much and take more time to consider what is the correct exposure while also taking into considering what creative result I am trying to achieve.
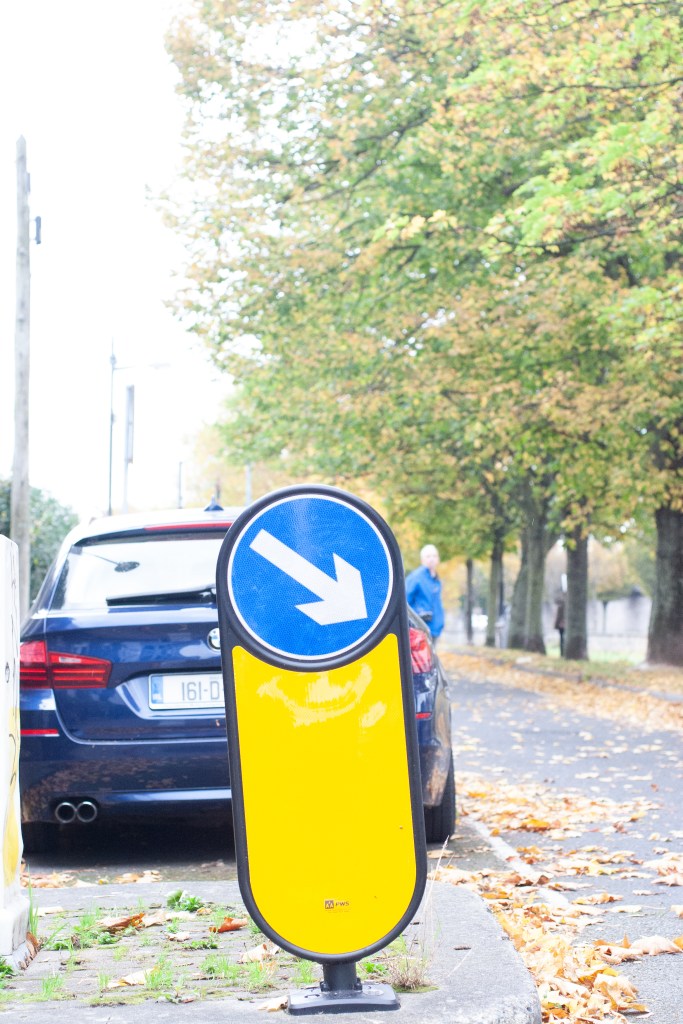
ISO 1600, SS 1/100, F/2.5. With exposure compensation it is clear that this image is far less blown out when compaired to the former image of the yellow traffic bollard.
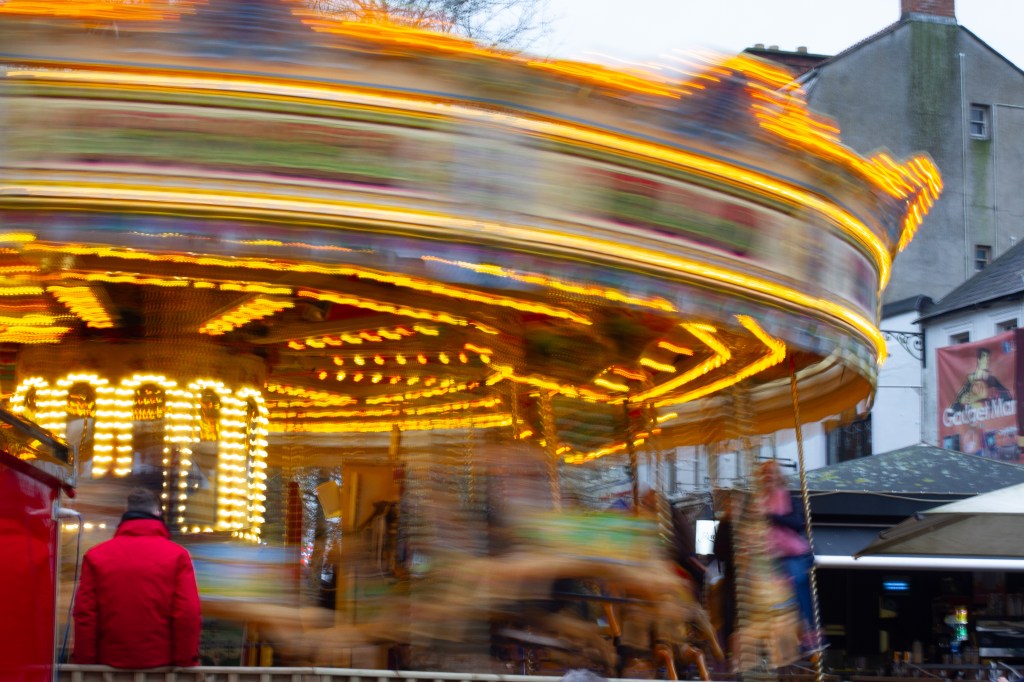
Part C: Bracketing
For the bracketing task I used the images from my baseline exposure to merge three images, one that was a bit over exposed, one which as ok and another which was under exposed. I merged them using lightroom. But this is a tool I am going to utilise in future, especially for landscape photography.
Part D: Shutter Speed and Motion
Photograph at SS 1/30th, F/ 14, ISO 200.
Photograph at 1/60th, F/ 8, ISO 400.
Photograph at 1/500th
ISO 200, F/ 14, 1/6th.
ISO 200, F/ 14, 1/6th.
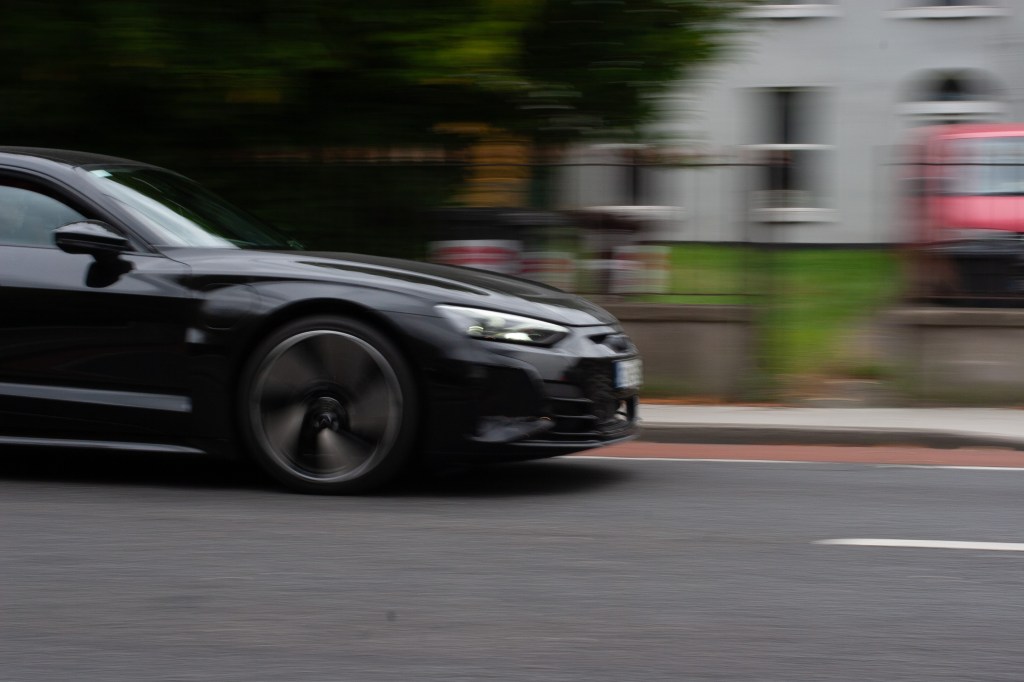
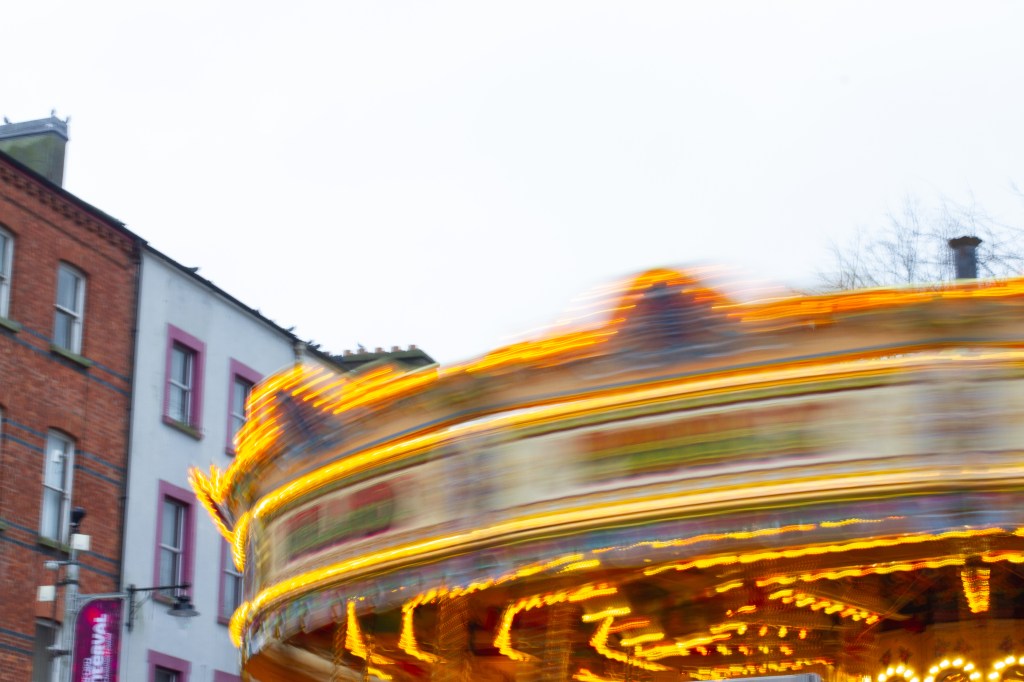
Panning Photographs
SS 1/30, F/ 13 ISO 200.
The above photograph was the first panning shot I got at an intersection. I was happy with it but I wanted a colour that popped a bit more than the silver car. The next panning shot is a little bit nicer.
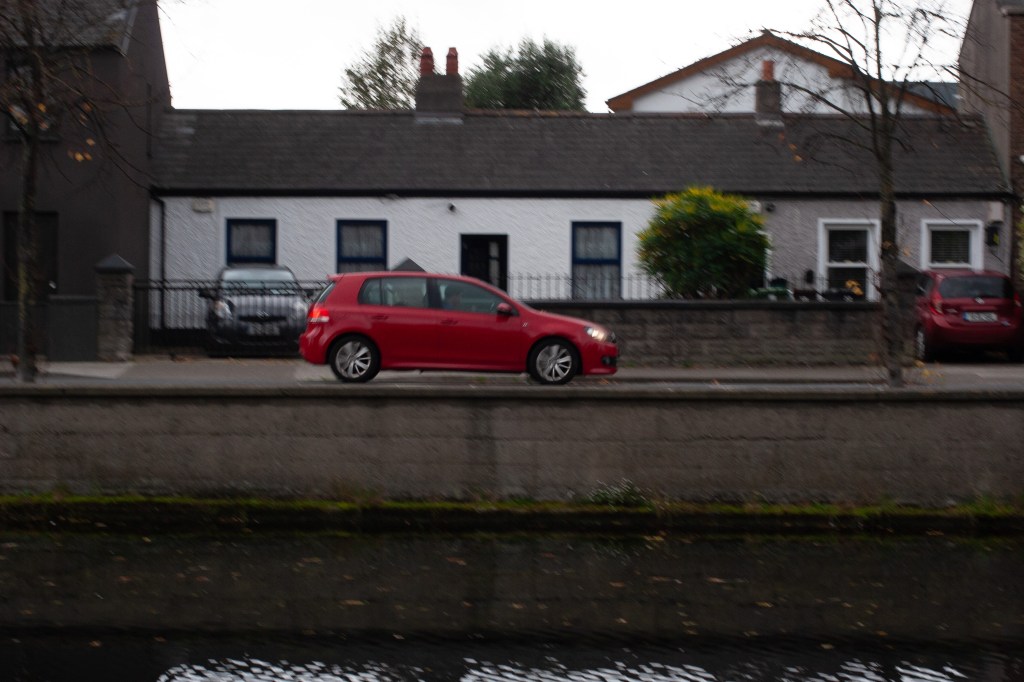
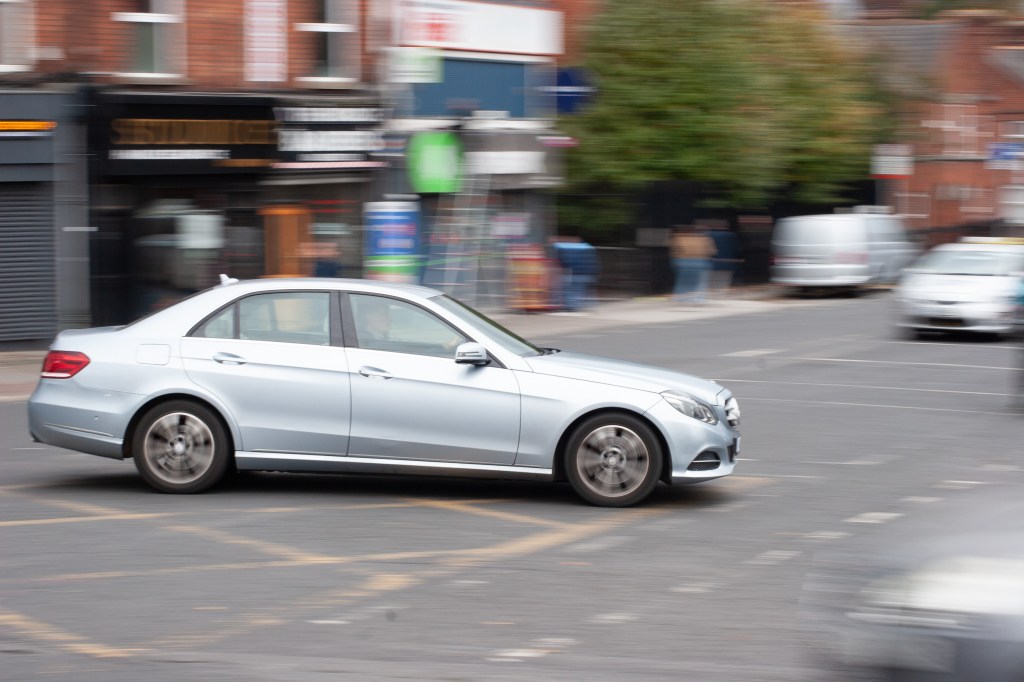
Panning Shot 2. Grandad on the Move
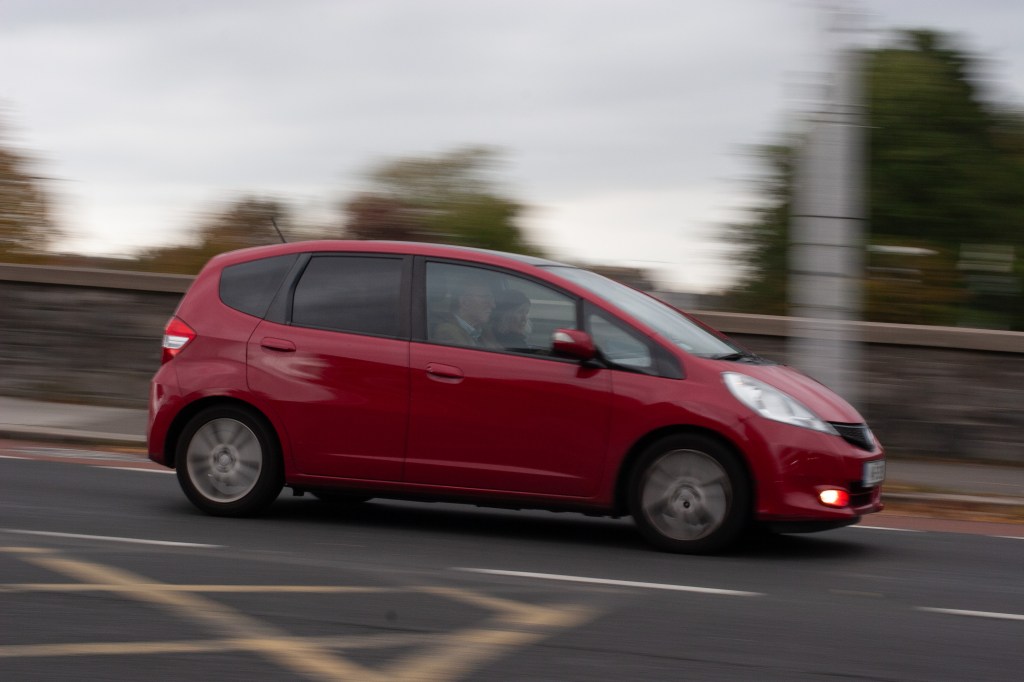
SS 1/30, F/13, ISO 400, 50mm.
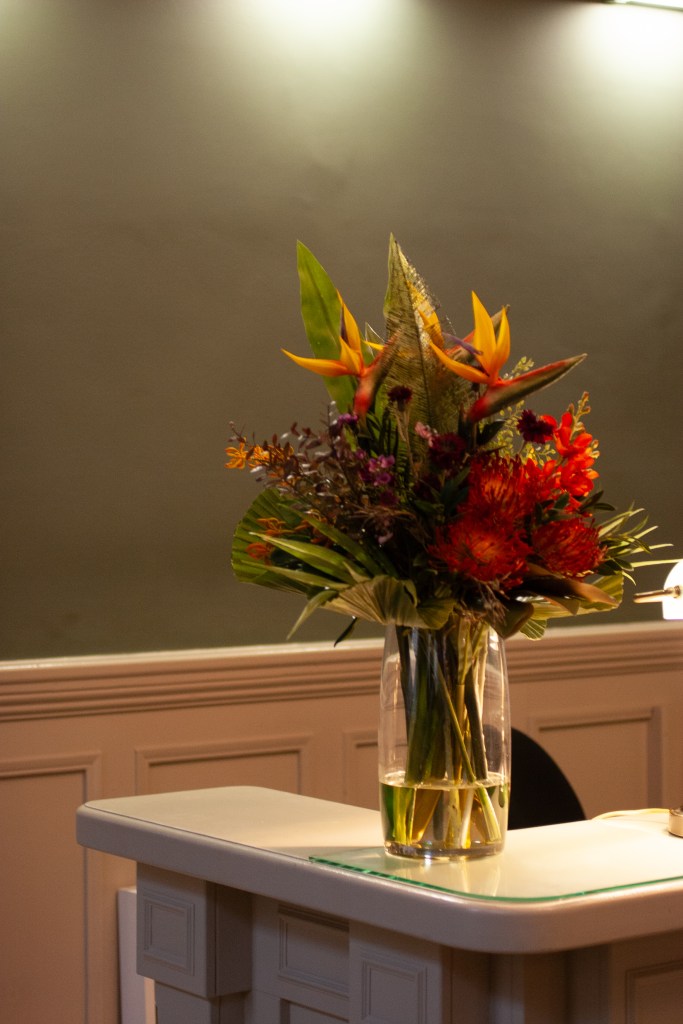
Part E: White Balance in tungsten and Night Light
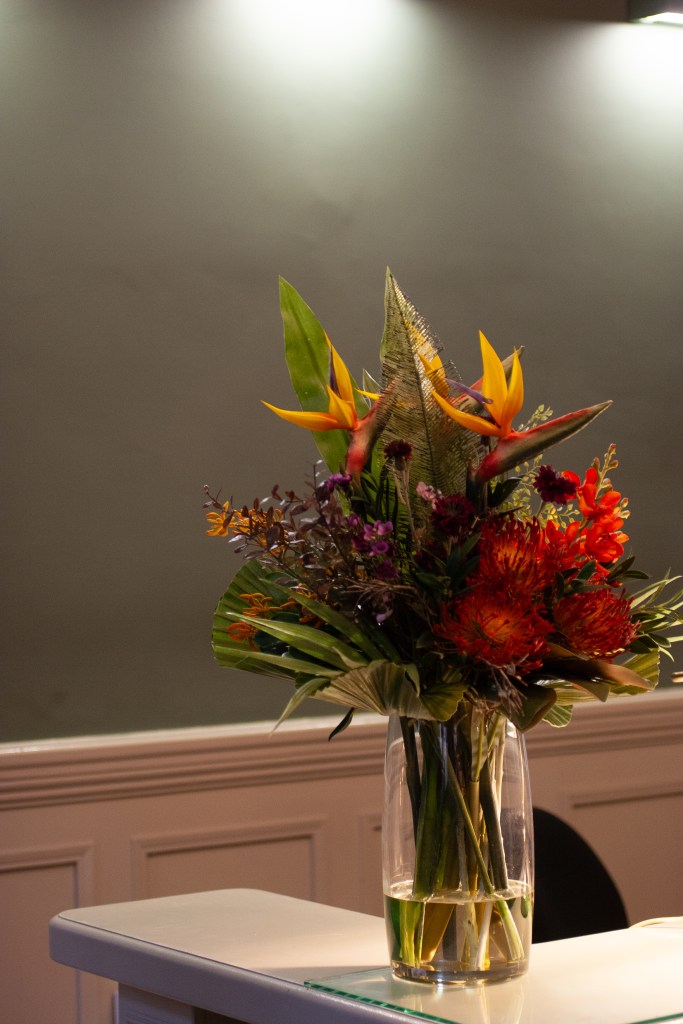
Auto white balance.
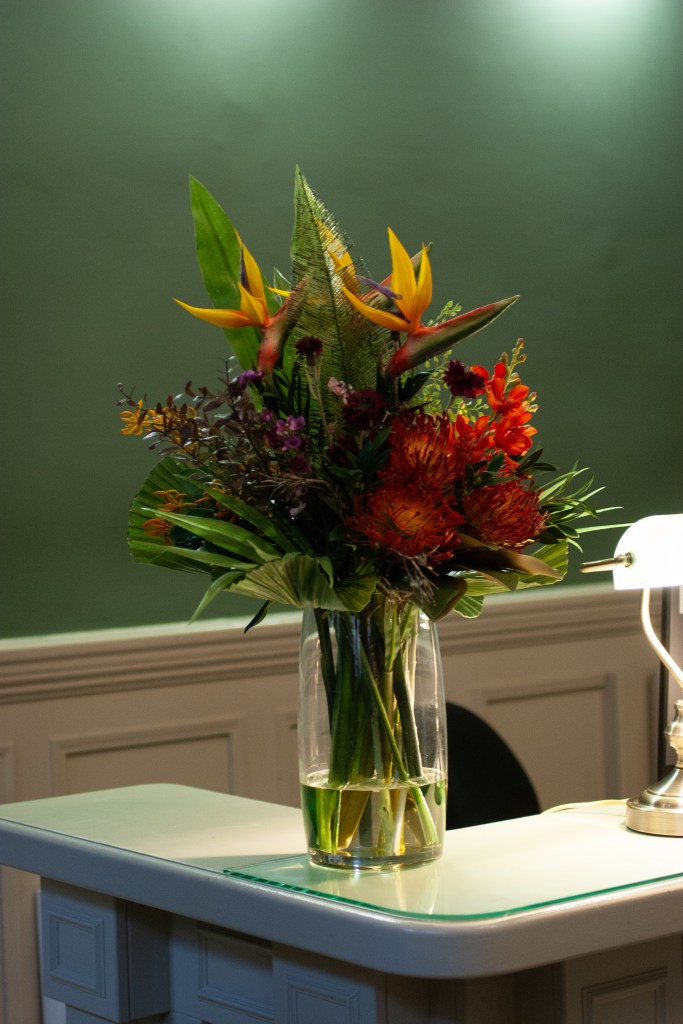
Tungsten white balance setting.
Fluoresent white balance setting.

Auto white balance.
Daylight setting.
Tungsten
Fluorescent.
This hilighted to me how useful auto white balance is but also in some situations it can get it wrong but for mixed lighting it can be really useful. It can also be used to create a certain mood in your images where you can subtract or ad warmth to achieve a certain creative goal.
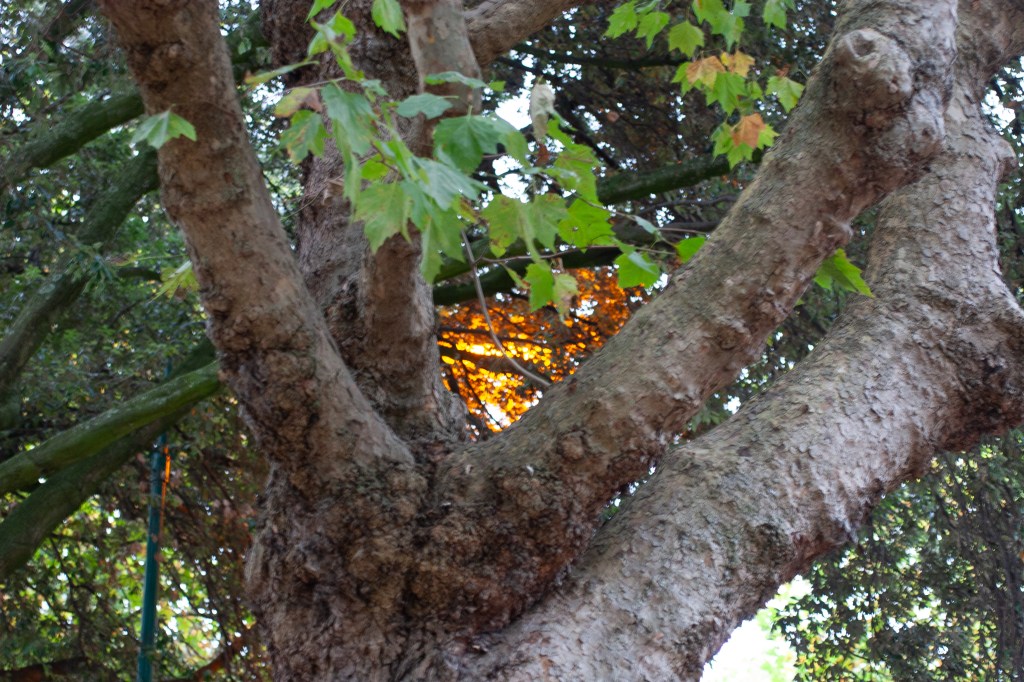
Weekly Entry
During this week I tired to get more comfortable with the camera in manual mode and shooting in public. After the saturday class I felt inspired to go on a walk around Dublin before my bus to see if I could capture anything cool.

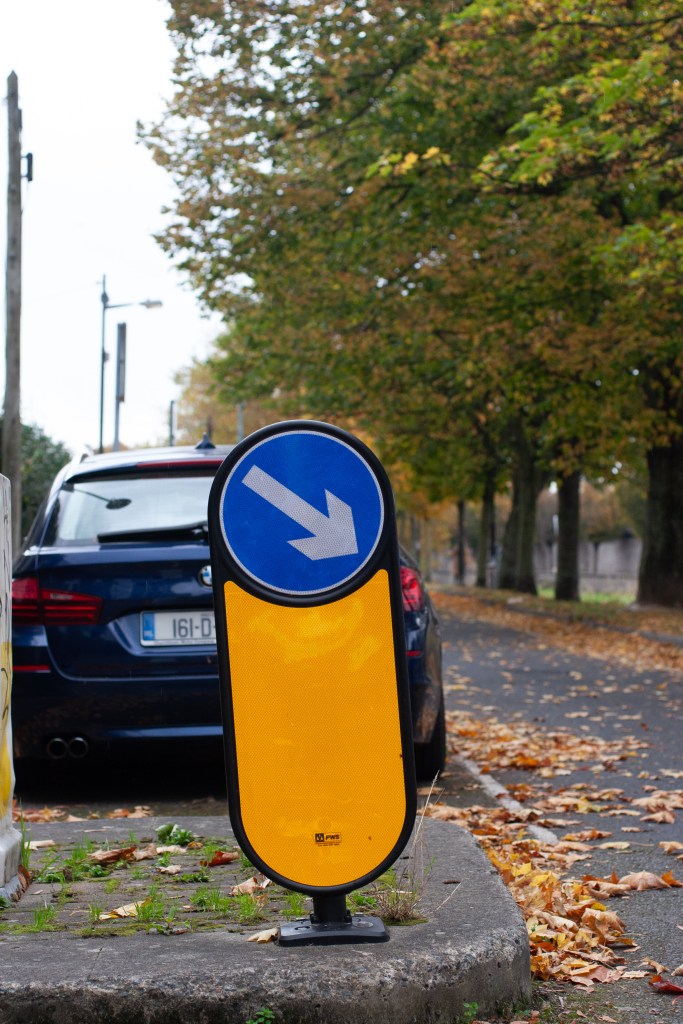
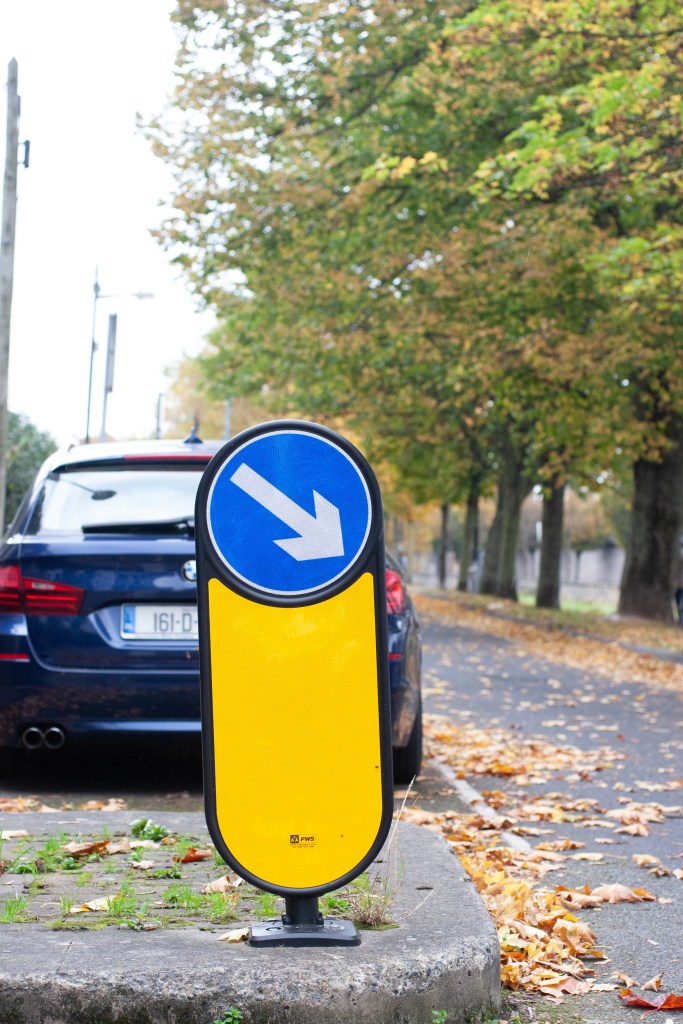
70mm, 1/50th, ISO 200, F/ 7.1

70mm, 1/50, F/ 7.1, ISO 200

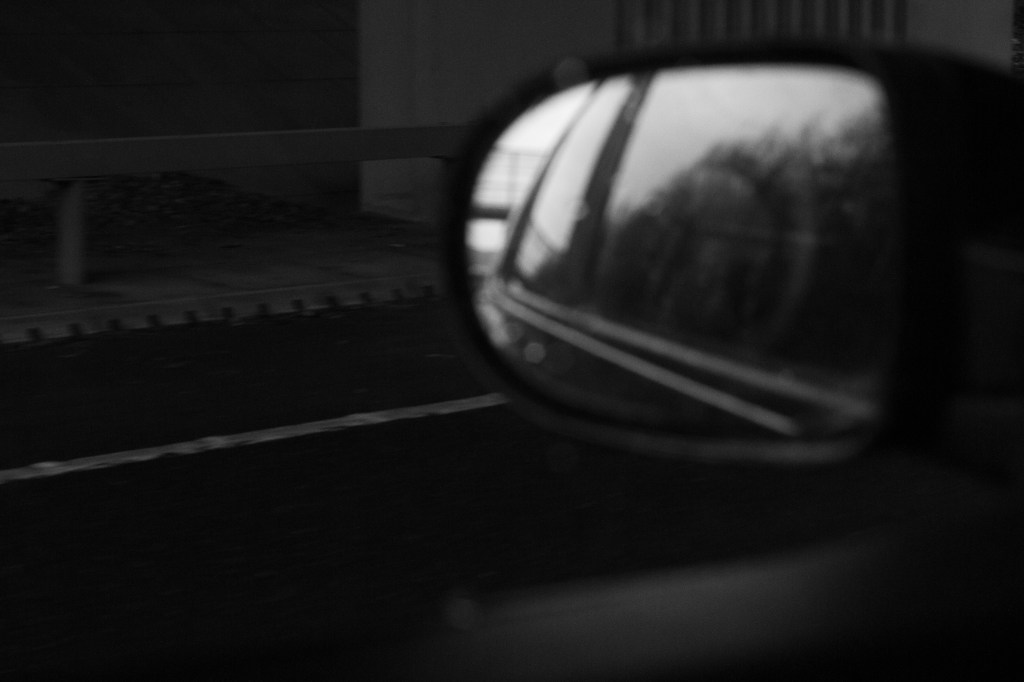
50mm, 1/15, F/ 3.2, ISO 400. Final shot of framing a rare halogen streetlight.
Test Shot, A Little blurry and over exposed. ISO 400, F/ 3.5, 1/10th.

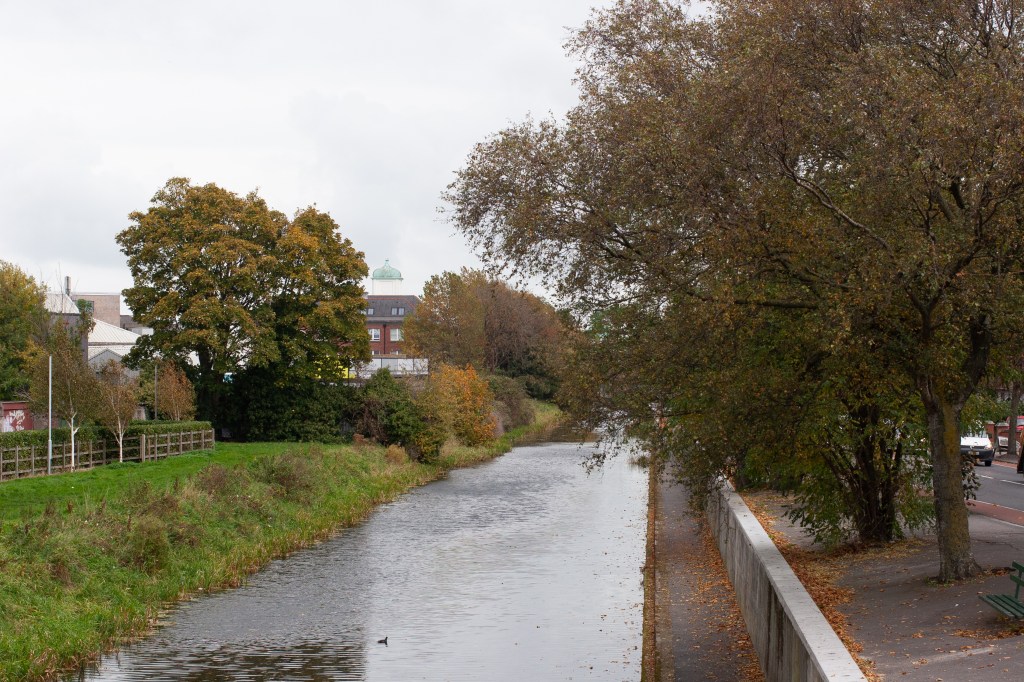
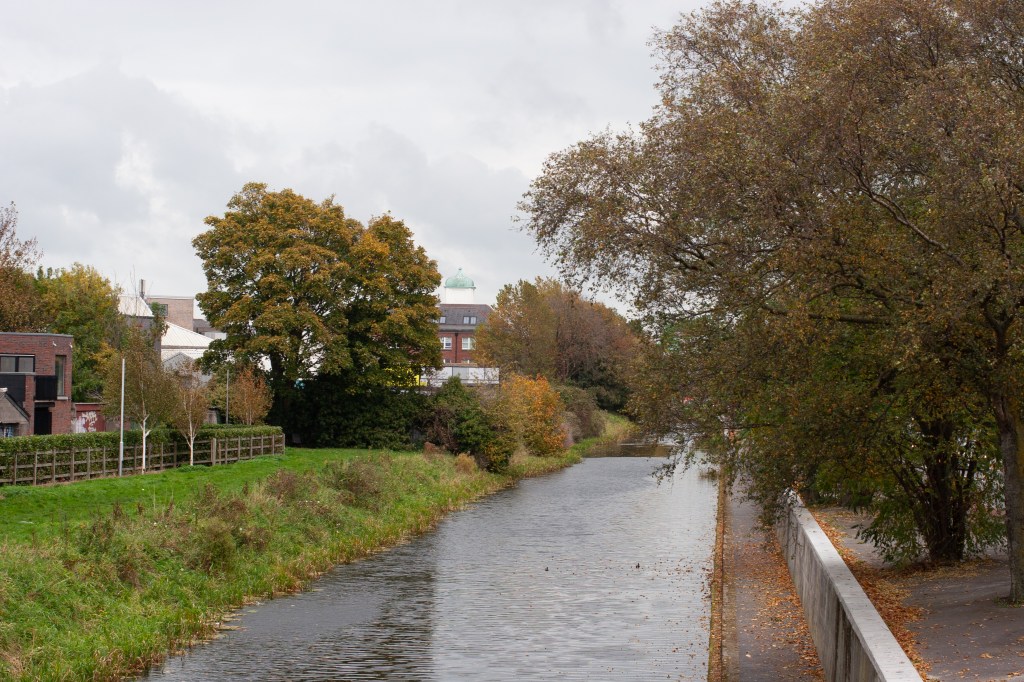
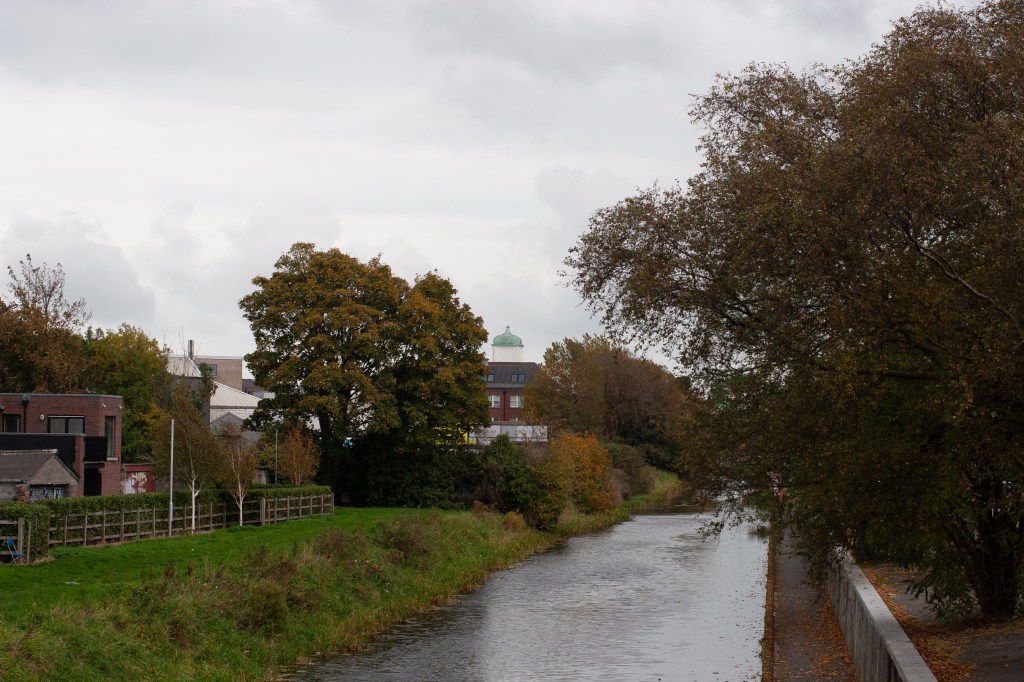
Slow shutter shot of the canal by Leeson street. 50mm, ISO 200, F/ 11, SS 0.3 of a second.
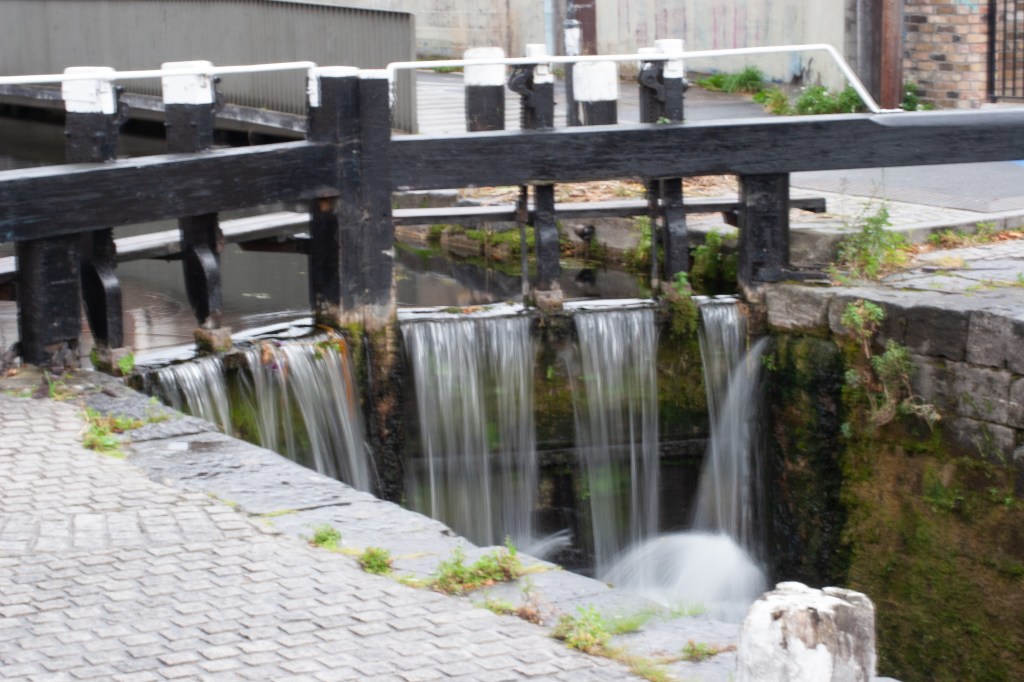
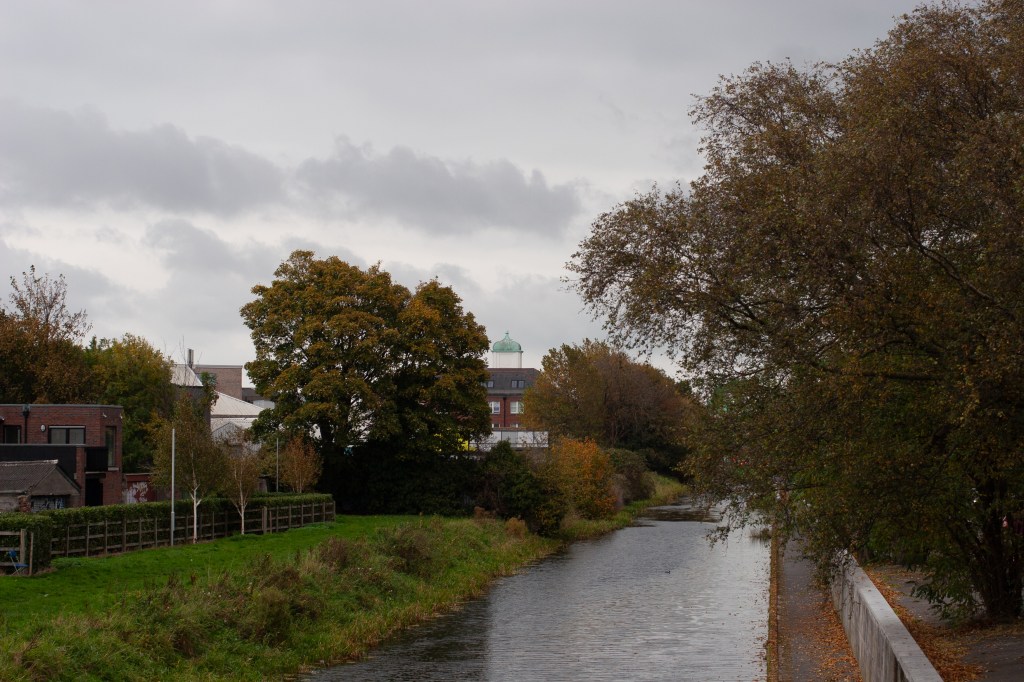
Test shot, SS 0.6 of a second, F/ 14, ISO 200, on a 50mm. I adjusted my shutter to account for camera shake and aperature too fix exposure.

Leave a comment